How I Built My Own Baseball Training Tools With a Home 3D Printer (Using a Prusa MK3S+)
In this blog, I’ll show you exactly how I made baseball training tools, step-by-step, with materials, print settings, assembly, and usage notes. By the end, you’ll be able to print every tool yourself.

If you’ve ever browsed baseball training gear online, you know how shockingly expensive some of the simplest tools can be. A weighted ball set? $49. Swing path trainer? $60–$100. Reaction balls? $20 each.
So I decided to try something different.
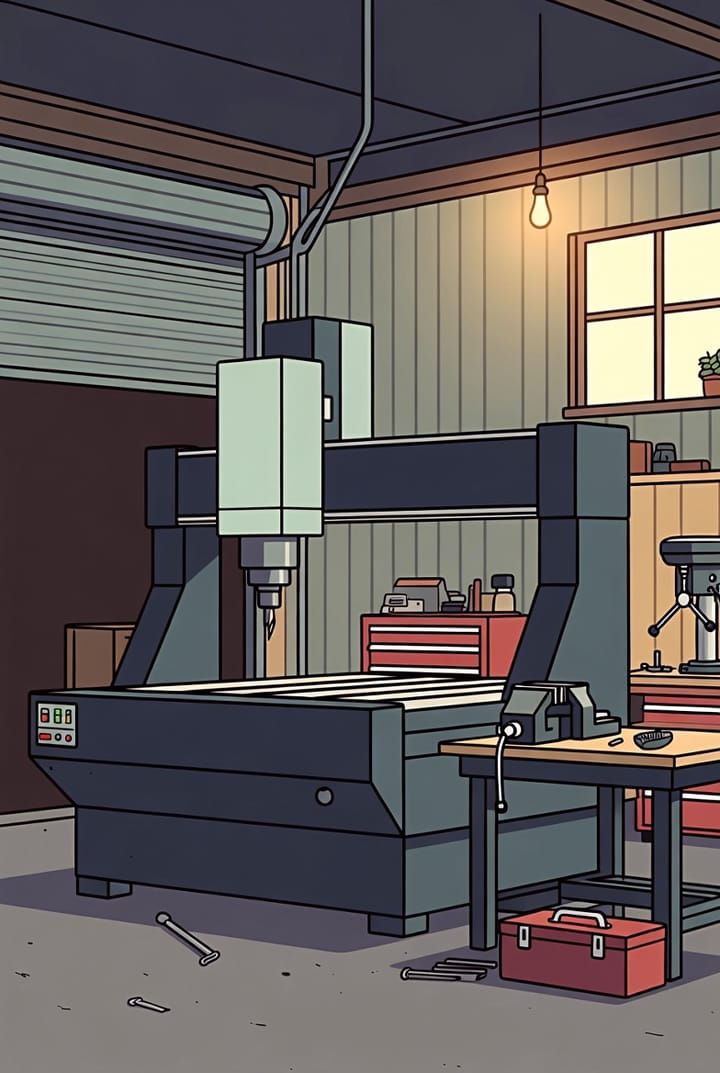
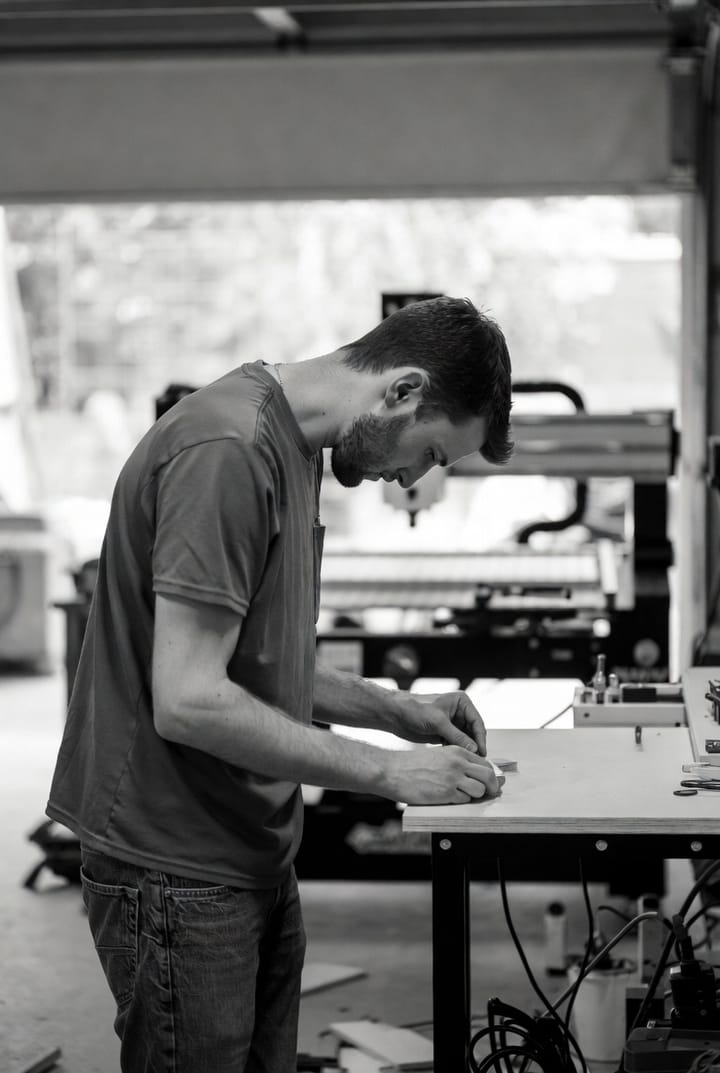
Since I already own a Prusa MK3S+ (still one of the most reliable printers on the US market), I started designing and printing my own baseball training tools — and it turns out they work amazingly well.
In this blog, I’ll show you exactly how I made them, step-by-step, with materials, print settings, assembly, and usage notes. By the end, you’ll be able to print every tool yourself.
🛠️ Tools We’re Making
Here are the training tools I'll walk through:
- Swing Path Trainer (Bat Arc Guide)
- Weighted Baseballs
- Reaction “Z-Ball”
- Custom Bat Grip + Knob Taper
- Pitching Spin Trainer
- Soft TPU Tee Top
- PVC Strike Zone Target Joints
Let’s dive in.
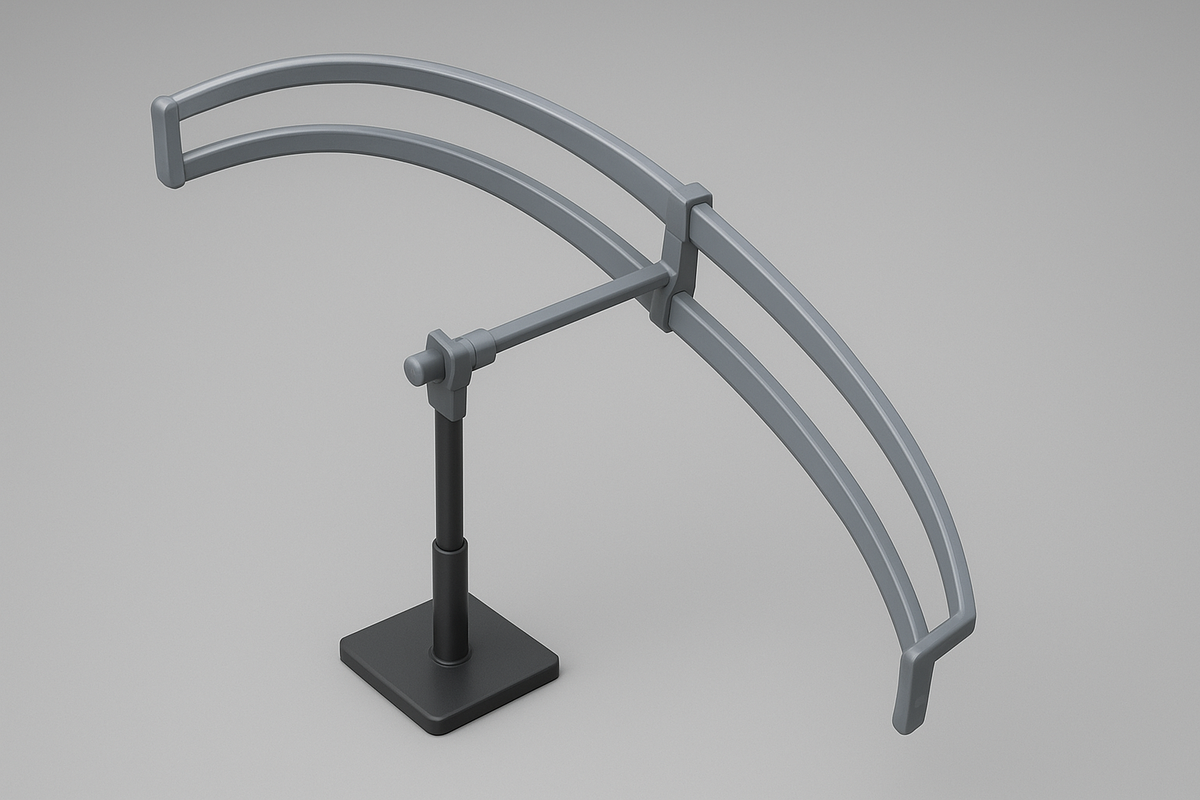
1. Swing Path Trainer (Bat Arc Guide)
This is the tool I'm most proud of. It’s a curved pair of rails that guide your bat through the ideal swing arc. Clip the rail? Your swing path is off. Clean pass? Perfect.
Materials
- Filament: PETG (stronger than PLA; survives impacts)
- Screws or zip ties
- A batting tee to mount the rails on
Print Settings
| Setting | Value |
|---|---|
| Layer height | 0.2 mm |
| Infill | 20–25% |
| Perimeters | 3 |
| Supports | Only for mounting brackets |
How to Build
- Print two curved rails, around 36–40 cm long each.
- Print two tee clamps (I designed mine as adjustable screw clamps).
- Attach rails to clamps using screws or zip ties.
- Clamp the whole assembly onto your batting tee.
How to Use
- Set the inside rail at hip height.
- Set the outer rail slightly above.
- Swing between the rails and avoid touching them.
Your bat path instantly becomes more level and repeatable.
2. Weighted Baseballs
Instead of buying overpriced weighted balls, I printed modular shells that can be filled to any weight.
Materials
- PLA+ or PETG for the shell
- TPU (optional) for a soft outside layer
- Filler: sand, BBs, silicone, or water
- Superglue or threaded cap
Print Settings
- Shells: 0.28 mm draft layers are fine
- Infill: 100% for rigidity
- No supports needed
Assembly
- Print the two-piece baseball shell.
- Add your filler:
- 4 oz (light training)
- 6 oz (standard)
- 8–12 oz for overload work
- Seal the ball using either:
- A screw-on cap, or
- Glue for a permanent close.
Tips
- TPU outer shells feel very close to real leather baseballs.
- PETG handles repeated impacts the best.
3. Reaction Training “Z-Ball”
This one is fun: a wonky, multi-lobed ball that bounces unpredictably.
Materials
- TPU filament (must be flexible!)
- No supports
- Print slow (25–35 mm/s)
Why TPU?
A reaction ball needs bounce. PLA just… doesn’t.
How to Use
Bounce it off:
- The ground (infield practice)
- A wall (reaction drills)
- With a partner (catch drills)
Great for infielders and kids.
4. Custom Bat Grip + Knob Taper
With 3D printing, you can create perfectly tailored grips:
- palm swell
- finger grooves
- knob taper
- anti-slip patterns
Materials
- TPU (for the grip surface)
- PETG (for a stiff taper)
Print Tips
- TPU grips: 10–20% infill
- PETG tapers: 3 perimeters
- No supports needed
Assembly
- Slide TPU grip over the bat handle.
- Add the knob taper to the butt of the bat.
- Secure with athletic tape (optional).
Why It Works
Consistent grip = consistent swing mechanics.
5. Pitching Spin Trainer
A ball with exaggerated raised seams to teach pitchers:
- Spin orientation
- Finger pressure
- Release angles
Materials
- PETG (durable)
- Optional steel nut inside for weight
Print Settings
- 0.2 mm layer height
- 3 perimeters
- 50% infill for solid feel
- Supports: none
6. Soft TPU Tee Top
Batting tee toppers rip constantly, so printing your own in TPU saves a ton of money.
Materials
- TPU filament
- Support-free model
Fit
Measure the inner diameter of your tee stem and print accordingly. PETG is also fine for the base.
7. PVC Strike Zone Target (Printed Joints)
Using PVC + 3D-printed connectors, you can build a backyard strike zone for pennies.
What to Print
- 45° elbows
- 90° elbows
- Cross-connectors
- Net clips
- Ground stakes
Why It’s Good
- Cheap
- Lightweight
- Replaceable
- Perfect for pitching accuracy work
Final Thoughts
3D printing baseball tools unlocks a crazy amount of potential:
- You can customize everything.
- You can fix or replace parts for cents.
- You can prototype tools that don’t even exist commercially.
- And most importantly — they actually help your training.
If you're a maker, a parent, or a player, a printer like the Prusa MK3S+ becomes more than a hobby machine — it becomes a real training lab.